A set of helpful step-by-step guides that I'll be adding to regularly.
Guide 1 is at the bottom of the page, for guide 2 onwards please click on the link in the index.
Guides Index:
- How to fit a BMW 3 Series dash clock in four easy steps
- How to dye your Bongo carpets
Guide 1:
How to fit a BMW 3 Series dash clock into your Mazda Bongo in four easy steps
What you need?
- 3 snap lock connectors (pack of 10 available from Maplin for £2.49)
- Pliers
- Keys to remove stereo (if applicable)
- Metal file (possibly if clock surround needs trimming / filing)
To complete the job:
Step 1:
Remove the existing blanking
plate, cubby hole or other item fitted above the stereo. In most cases these
items can just be pulled out as they are only held in by a few clips.
Next remove the stereo head
unit. This can be done using the keys provided with the stereo. If you aren’t
sure how your stereo comes out a quick Google search should help here.
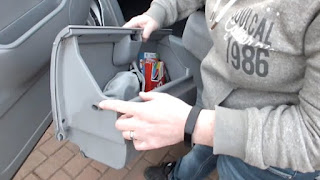
If you need to access the
back of either the stereo or the blanking plate section you can remove the glove
box. Open the glove box and you will see a small plastic peg on either side of
it – these pegs keep the box in position.
To remove the right peg
simply ease the glove box to the left and it will pop free, do the same on the
left side (pushing to the right) and the glove box will then drop down and can
be easily released.
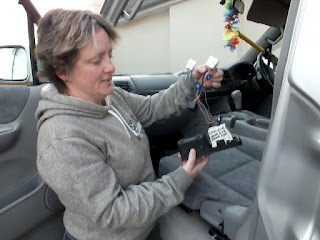
After removing the stereo
head unit and the attached cabling you will see a second block of wiring
running into white connectors. Remove this second block of wiring from both the
head unit cabling and the white connectors.
 |
| The second block of wiring is by my right hand |
This will allow you to work
on the wires more easily.
Step 2:
At this point I would check
to see how well the clock fits into the top opening to see if any trimming will
be required.
If the clock isn’t fitting
well you can trim / file down the clips and the surround. Do this bit by bit to
ensure you achieve a good fit.
 |
| File the clips if needed |
Step 3:
The clock should have three
wires protruding from the back – orange / yellow, brown / black and grey / red.
You need to connect these
wires to the wires on the removed section in the following way:
Orange
/ yellow clock wire to yellow wire
Brown
/ black clock wire to black wire
Grey
/ red clock wire to orange wire
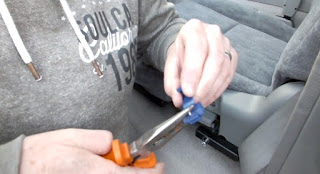
The easiest way to make the
connections is to use the snap lock connectors. Simply slide the connector over
the existing cable then add the new wire in one side and squeeze the metal
blade with the pliers. The blade then cuts into the insulation of both wires
and completes the connection.
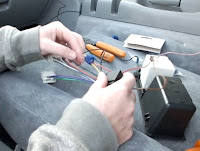
Once you have wired up the
clock you need to reattach the wiring to the Bongo.
Step 4:
You are now ready to fit the
clock – push it firmly into the dash. At this point I would make sure it is
working.
Next you need to reattach
the stereo head unit wiring and push the stereo back into its housing.
You may need to pull some of
the wires through from the back so don’t put the glove box back until both the
clock and stereo are both fully fitted and you have checked everything works.
Finally refit the glove box.
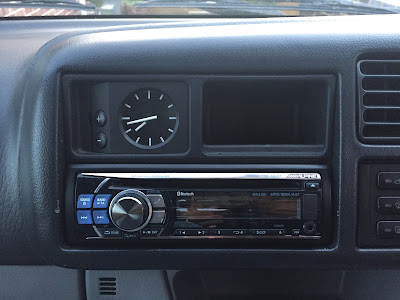 |
| The clock after fitting |
Check out my video on You Tube showing me fitting the clock:
No comments:
Post a Comment